
Using roofing paper to throw wide pieces - does it work?
As potters, we’ve all been there—trying to throw larger pieces, like platters, only to mess them up when the wiring off the bat. I’ve certainly had my fair share of frustrations. That’s when I decided to explore a solution that could help me avoid those stressful moments.
I came across a method that’s been gaining attention in the pottery community—using reusable roof lining paper. I first saw this material used for creating reusable templates when slab building then saw others use it for throwing, I thought I’d give it a try. And let me tell you, with a few tweaks, it made a world of difference for me.
Why You’ll Love This Hack
If you’ve ever thrown a wide piece, you know the pain of trying to wire it off the bat without ruining your hard work. This trick helps keep everything in place, until you are ready to remove it from the bat. Here's a breakdown of how I used roof lining paper for my throwing sessions—and why you might want to give it a go yourself.
How it worked for me (With A Few Helpful Tips!)
Get Your Materials Ready
First, you’ll need to cut some reusable roof lining paper. I had to buy a VERY large roll so I’m offering small amounts of the paper for sale, which will be enough for about three standard bats. Check it out if you’re ready to try this method.
Start with Softer Clay
I found that using softer clay than usual really helped when working with the paper. It made centering the piece on the wheel so much easier. You’ll be amazed at how this small tweak can make a huge difference!
Slow the Wheel Down
When centering your piece, make sure the wheel is moving a little slower than usual. This helps prevent the paper from shifting or bunching up.
Prepare the Bat
Fix your wooden bat to the wheel using your normal method then brush on a thin layer of slip—soft slurry from your reclaim bucket or wheel pan works well. Apply to moving bat with fingers and smooth with a kidney until about 1mm thick. Just enough to get the paper to stick. I didn’t notice any difference in which side of the paper faced up.
(Optional but recommended) Secure the Paper with Tablecloth Clips
Now, this part may seem a bit awkward, but, after a few unsuccessful, bunchy attempts this made all the difference! I used some inexpensive metal tablecloth clips to keep the paper in place while I centred the clay. You could skip this step, but I highly recommend it—it keeps the paper steady and ensures the best results. Just be mindful of where your fingers are as the wheel turns—safety first, keep them back from the clips.
Throw Your Piece
Remember to slow down the wheel while centring so the paper stays in place. It takes a few goes to get the hang of it. You might need to pull the paper from time to time to flatten it. Once you’ve centred your piece, remove the clips (if you used them) and continue throwing the platter/plate as usual.
Wire Off Carefully
When you're done, carefully wire between the paper and the bat. It’s important to keep the paper and piece intact while drying. Be sure to wire off regularly—once or twice daily—as the piece dries. Skipping this step could make it difficult to remove the piece later on.
Finish Up
Once the paper releases from the bat (mine took 2-3 days, dependant on conditions), let the piece it dry until it’s leather hard. Then, flip it over using another board and carefully peel off the paper. Smooth out any texture left behind by the paper with a kidney, sponge, or trimming tool to finish it off to your liking.
The Result? A Smooth, Less Stressful Throwing Experience
I’ll be honest—this method has been a game-changer for me. Throwing larger pieces, like platters, has never been easier, and the end result is clean and intact. If you're tired of battling with your bat and getting frustrated with large pieces, this trick could be just what you need. It does take a few attempts to get it right but after that you wont look back.
Want to give it a try for yourself? I’m selling small amounts of the reusable roofing paper here—enough for about three standard bats. It’s an affordable way to try something new in your studio without committing to a giant roll. Trust me, once you try it, you may never go back!
Happy throwing!


Terra Sigillata
How to apply Terra Sigillata to your piece.
‘I’ve been meaning to thank you for some time for being a supplier of Terra Sigillata .
As an amateur potter with a healthy obsession with barrel firing your supplies have transformed my fledgeling creations into little artworks.
I love the unique patterns this process makes and your product perfectly fits my chosen clay body.
Thank you
Lesley’
If you are planning some naked raku, smokefiring or pitfiring this year, you might want to find out a bit more about Terra Sigillata (available to purchase in my shop).
It’s truly amazing stuff which can transform a matte, clay surface into a silky-smooth, gleaming canvas for smoke. (Can you tell how much I love Terra Sig!)
Terra Sig is, simply put, super fine clay particles which have been suspended in water then extracted. It’s been used by ancient civilisations to seal vessels. Terra Sig roughly translates as ‘easth sealed’. (Note - it will not make your pot completely waterproof).
How do I apply Terra Sig?
To get the smoothest results I would recommend burnishing your piece before applying, you can skip this stage but your surface won’t be as smooth. Old lightbulbs, spoons and pebbles make great burnishing tools.
Wear a set of plastic gloves to avoid finger prints (the type you get with hair dye kits are ideal).
Apply several coats of Terra Sig to bone dry clay - bone dry state is important! Making sure to immediately brush over any runs or drips which might occur.
You can brush over the base as Terra Sig is not a glaze so won’t stick to your kiln shelf.
Once you have applied the final coat, use a soft plastic bag and gently buff the surface (non-biodegradable dog poo bags work brilliantly as do those hair dye gloves). Buff before the pot gets completely dry. At this point you should begin to see it shine!
Keep the piece dry and biscuit fire (avoid storing in a place where it might get accidentally splashed as this will spoil the surface).
Fire below 1000c to make sure the surface remains porous enough to accept smoke markings.
Clean up your piece using a sponge or plastic scourer
Polish using beeswax or plant-based wax
Tip - avoid stickers etc on your fired surface as Terra Sig can be delicate.
Enjoy a beautifully tactile piece!
To get started straight away, order a pot of Terra Sigillata from my online shop (UK delivery only).


Guillemot Eggs

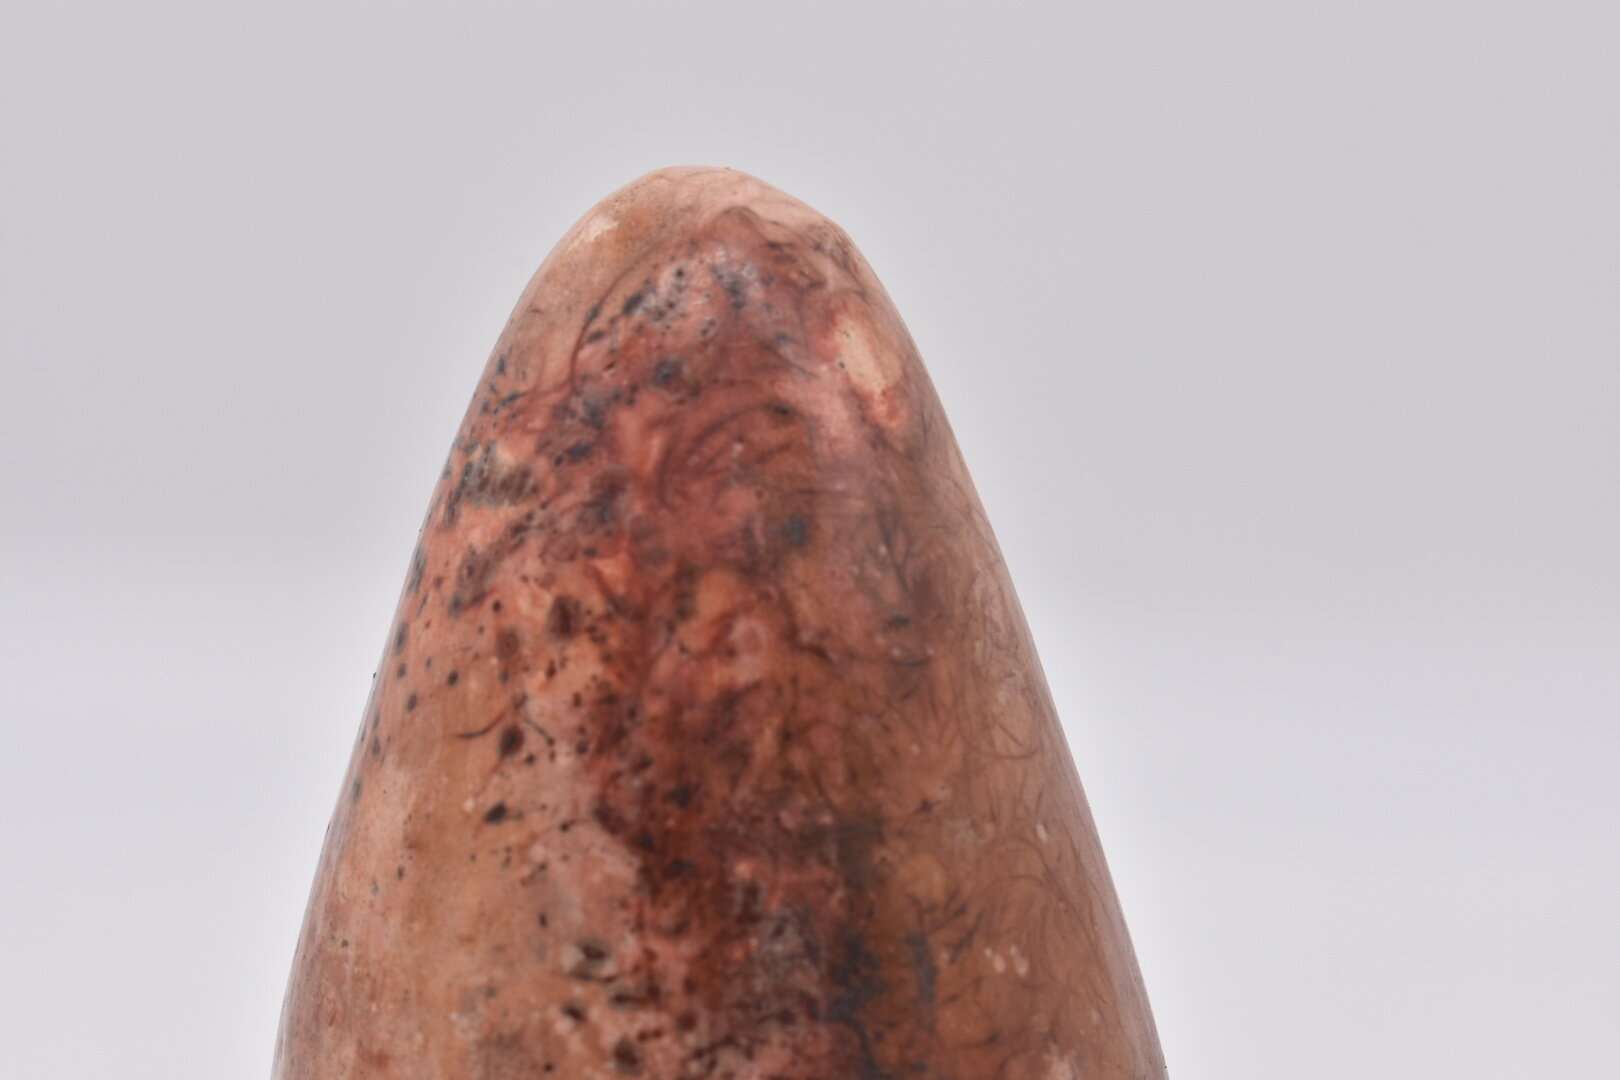
Earlier this year I started a project to find out more about the Guillemot egg. Following a chance conversation with a customer I became interested in the unique shape and colourings of this egg.
Guillemots lay their eggs on rocky ledges, not in nests. Until recently the theory was that the comical shape of the egg allowed it to roll in an arc and therefore not fall off the ledge…Tim Birkhead challenges this in his fascinating book ‘The Most Perfect Thing’. Photographs of the eggs showed marking very similar to those on my horsehair and Saggar fired pots.
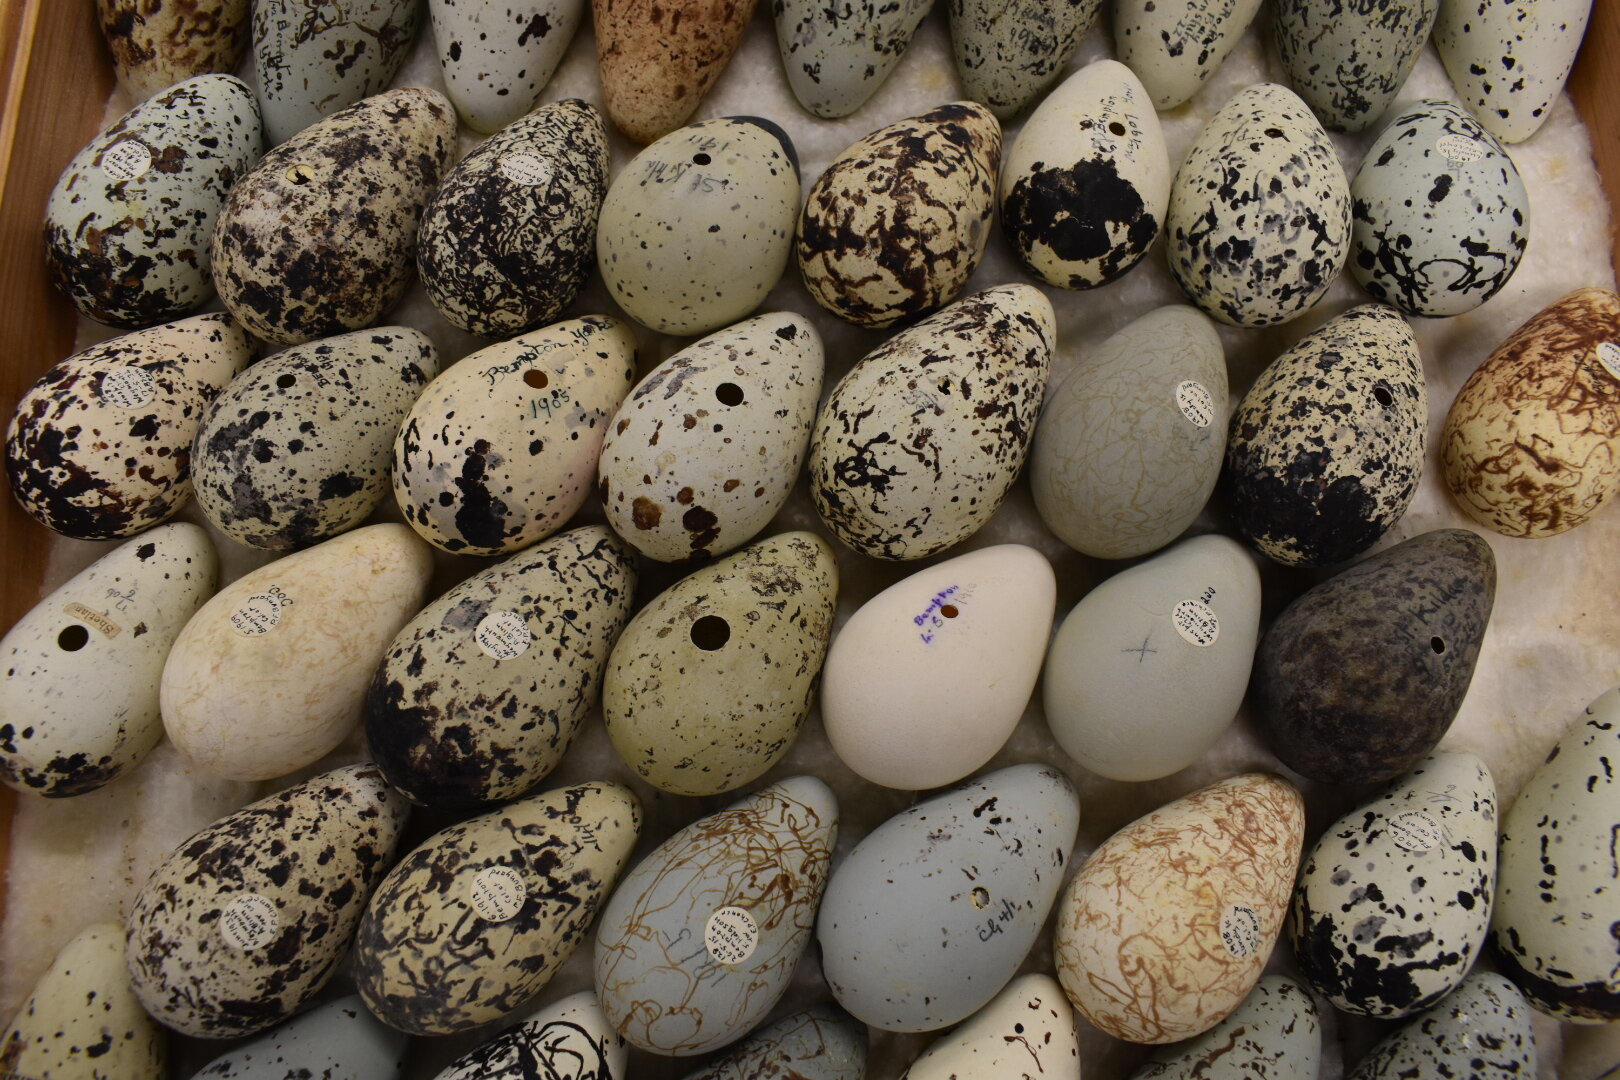
Just days before lockdown started, I visited the National Museum of Scotland Collection Centre in Edinburgh where I had the opportunity to see these eggs up close. They have hundreds in their collection and I was fortunate enough to be allowed to handle some. Each egg has a blow hole and many are inscribed with the collector’s name, location found and date.

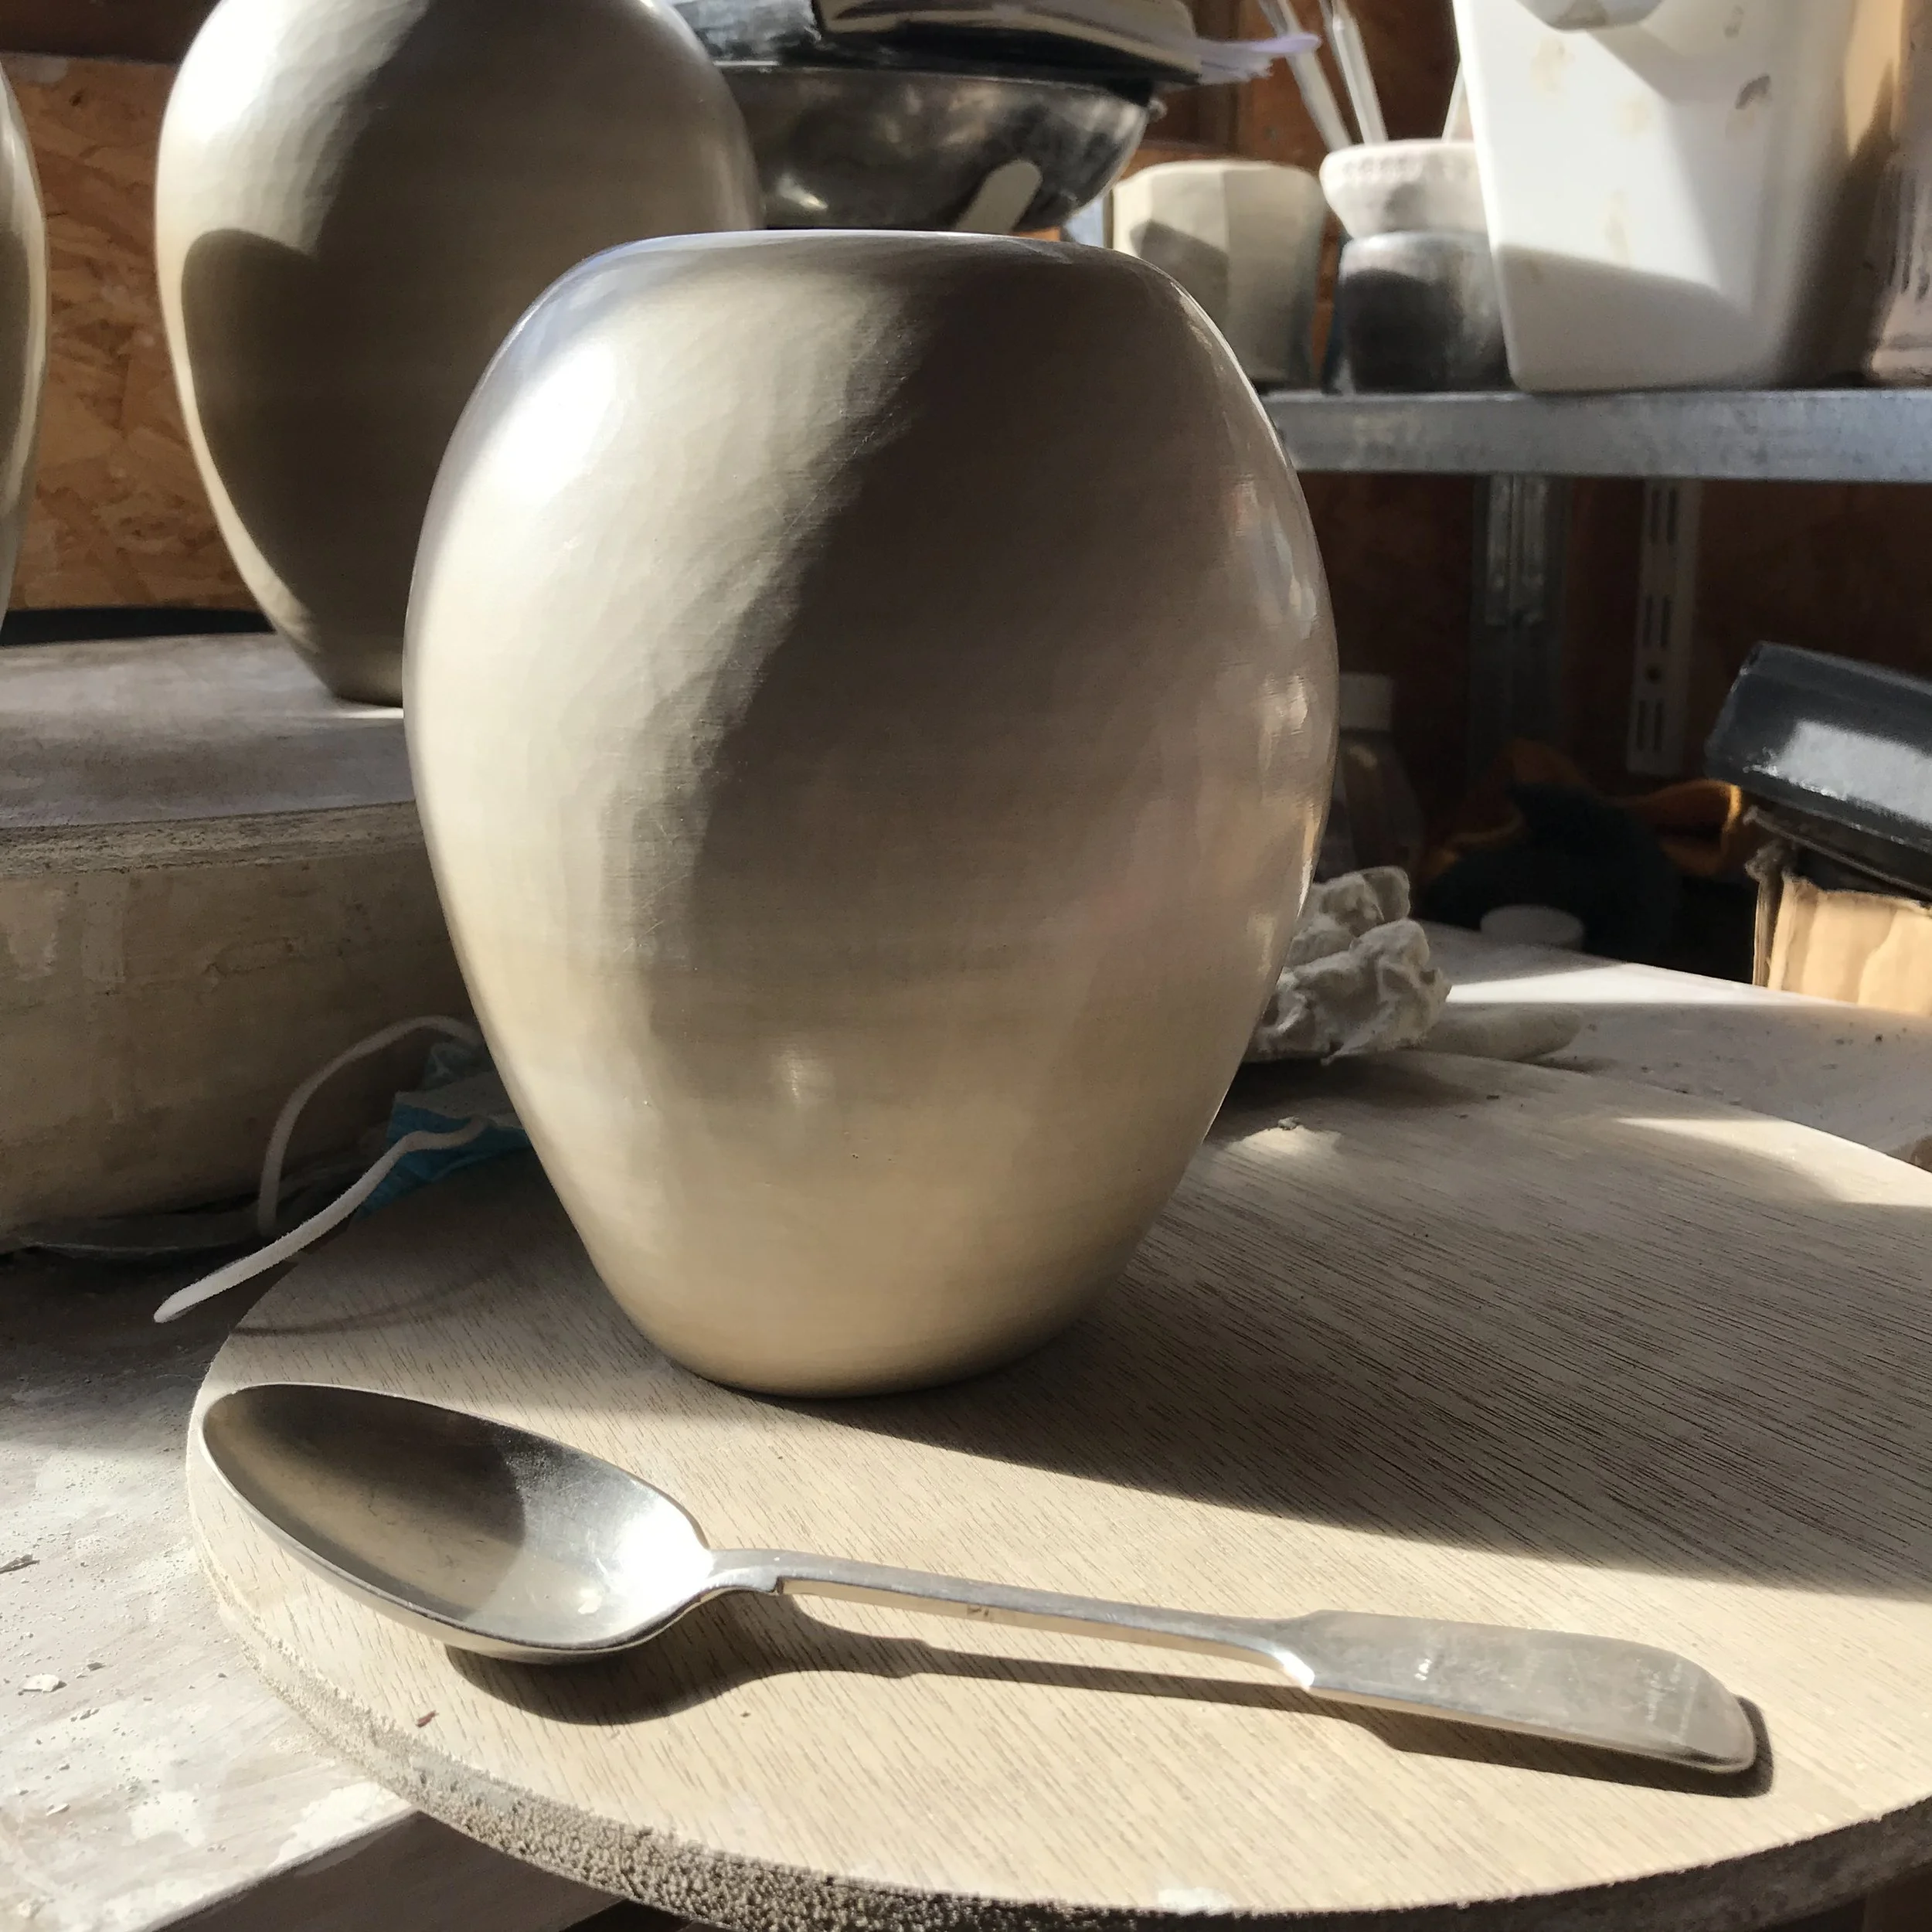
After the visit I set about making my first egg. Some previous eggs I’d made were pinched and coiled but the shape of the guillemot egg seemed perfect for making on the wheel. I made a few then selected my favourite and made a plaster mould of it. I could now create multiple versions of the egg from my mould.

The clay eggs are burnished with a silver spoon several times over a few days until the surface is smooth and shines. Sometimes I add a layer of coloured terra sigillata to stain the egg and add a smoother finish.

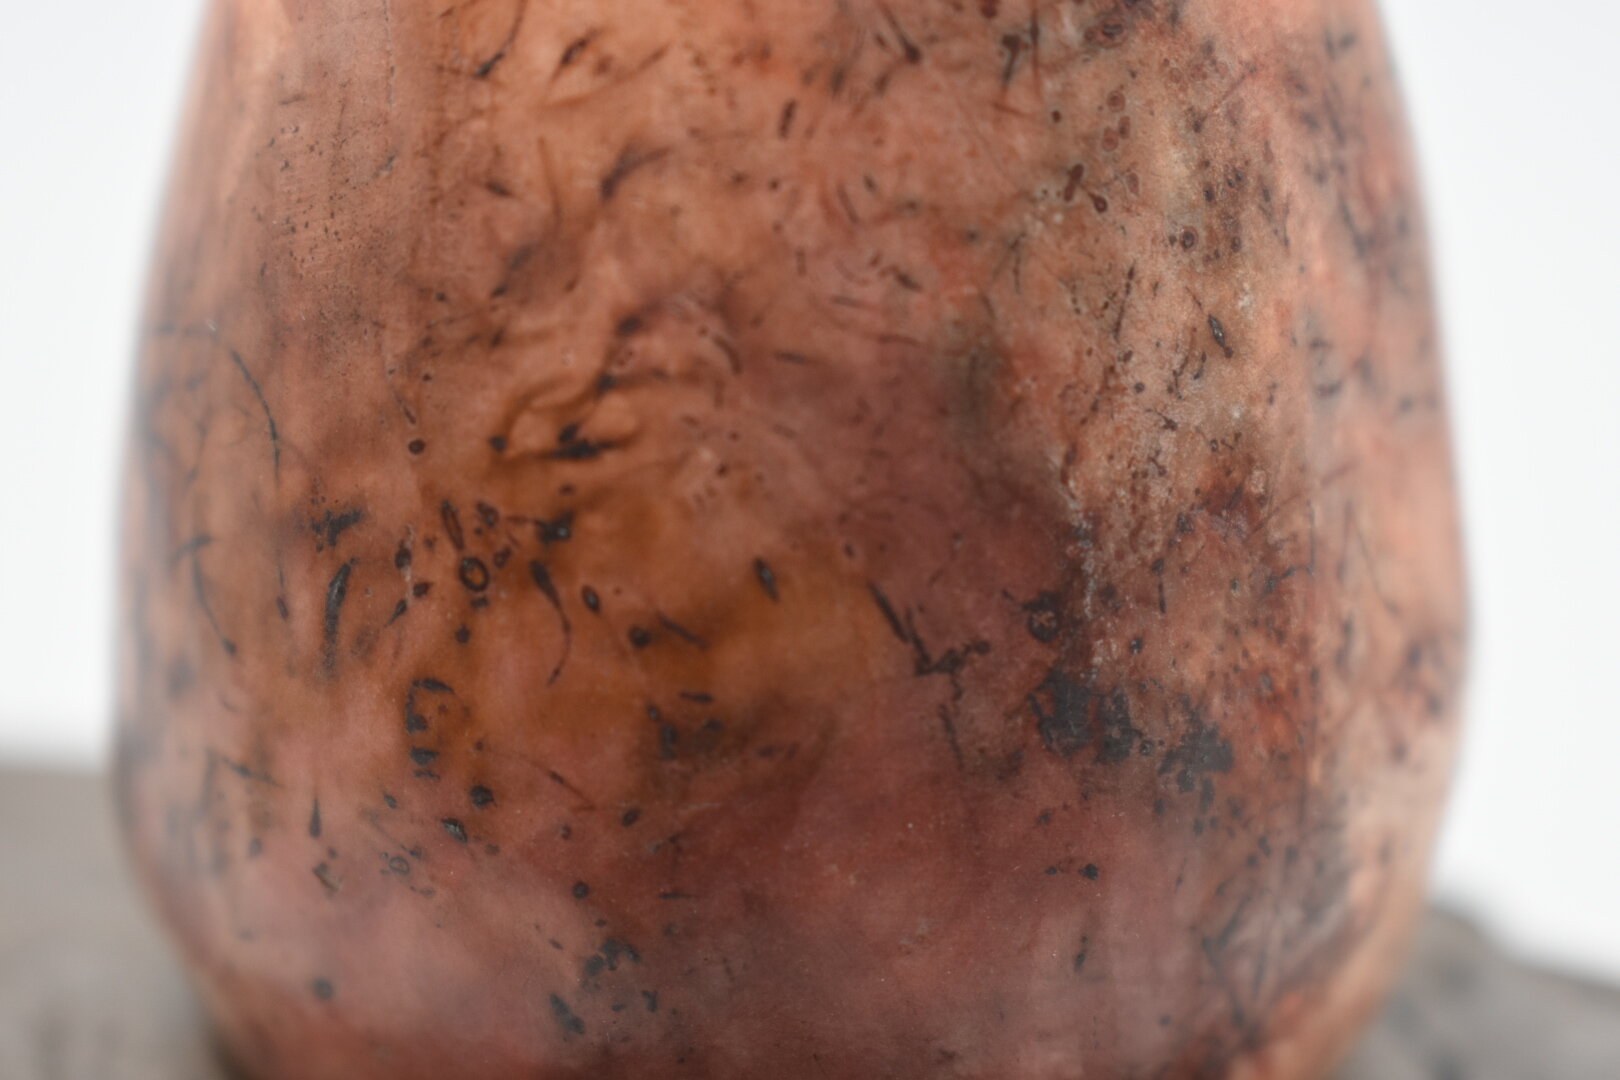
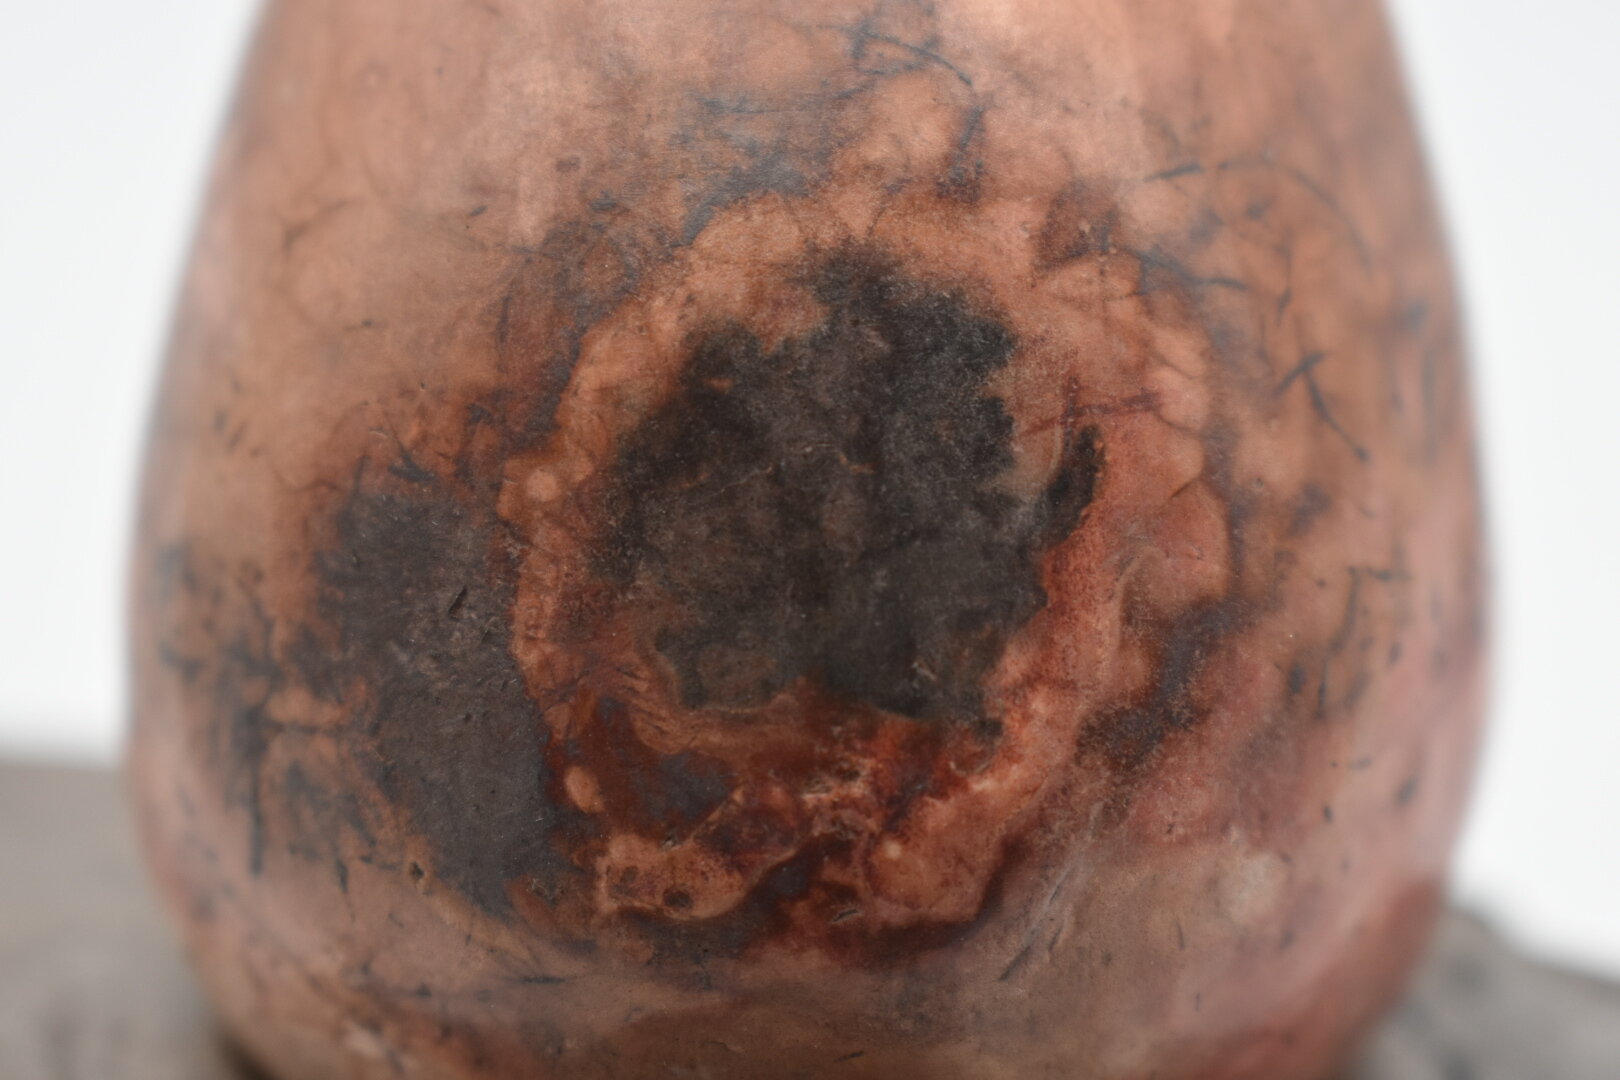
The first eggs I fired were decorated with horsehair and feathers. They were really tricky to control once they came out of the raku kiln - something about that shape just wants to roll!
I made a series of Saggar fired eggs which I’ve had interesting results with.
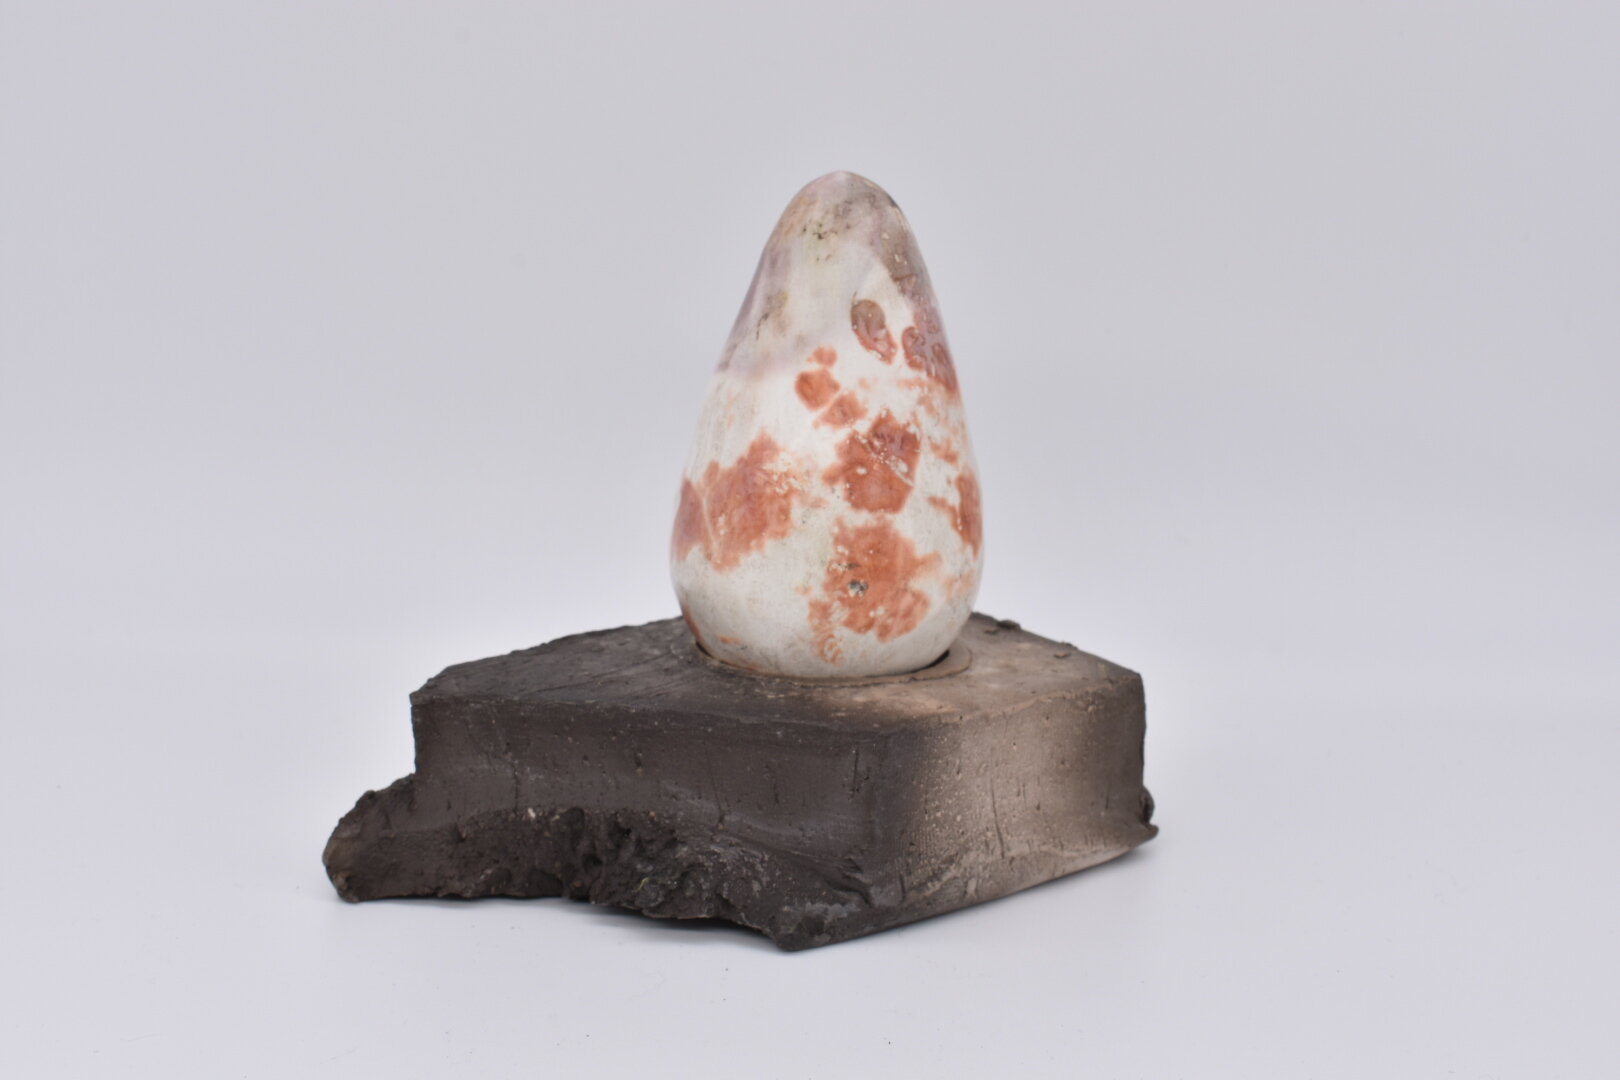
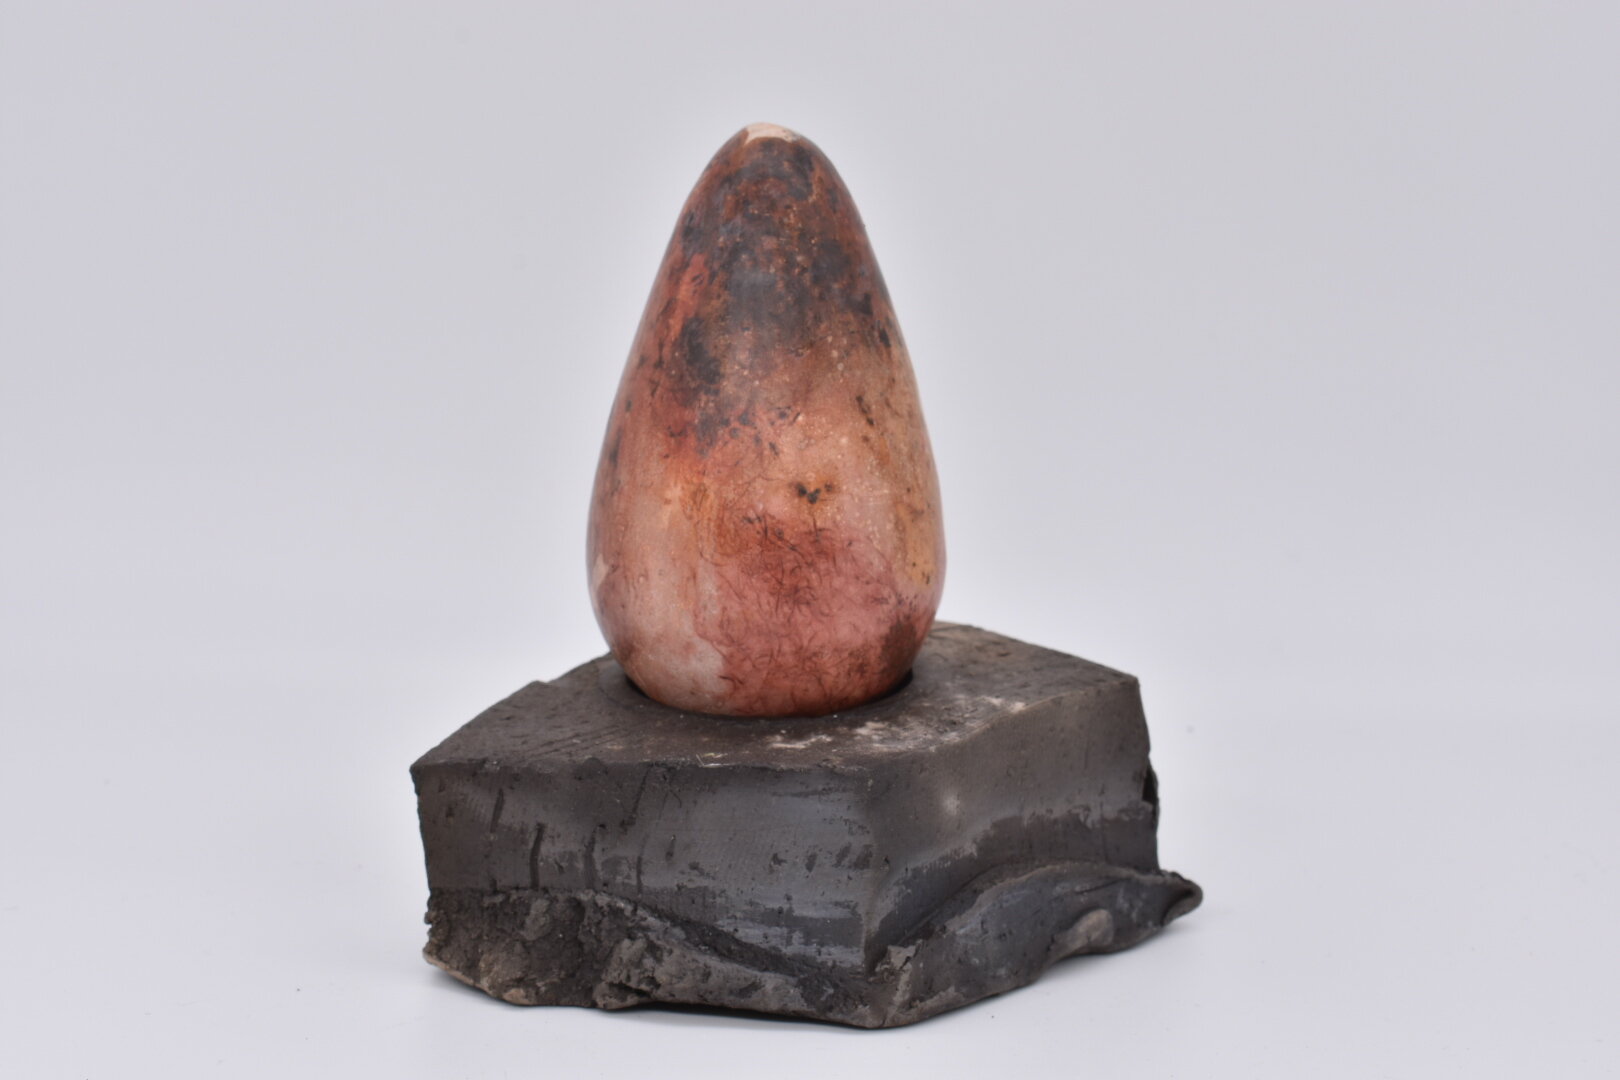
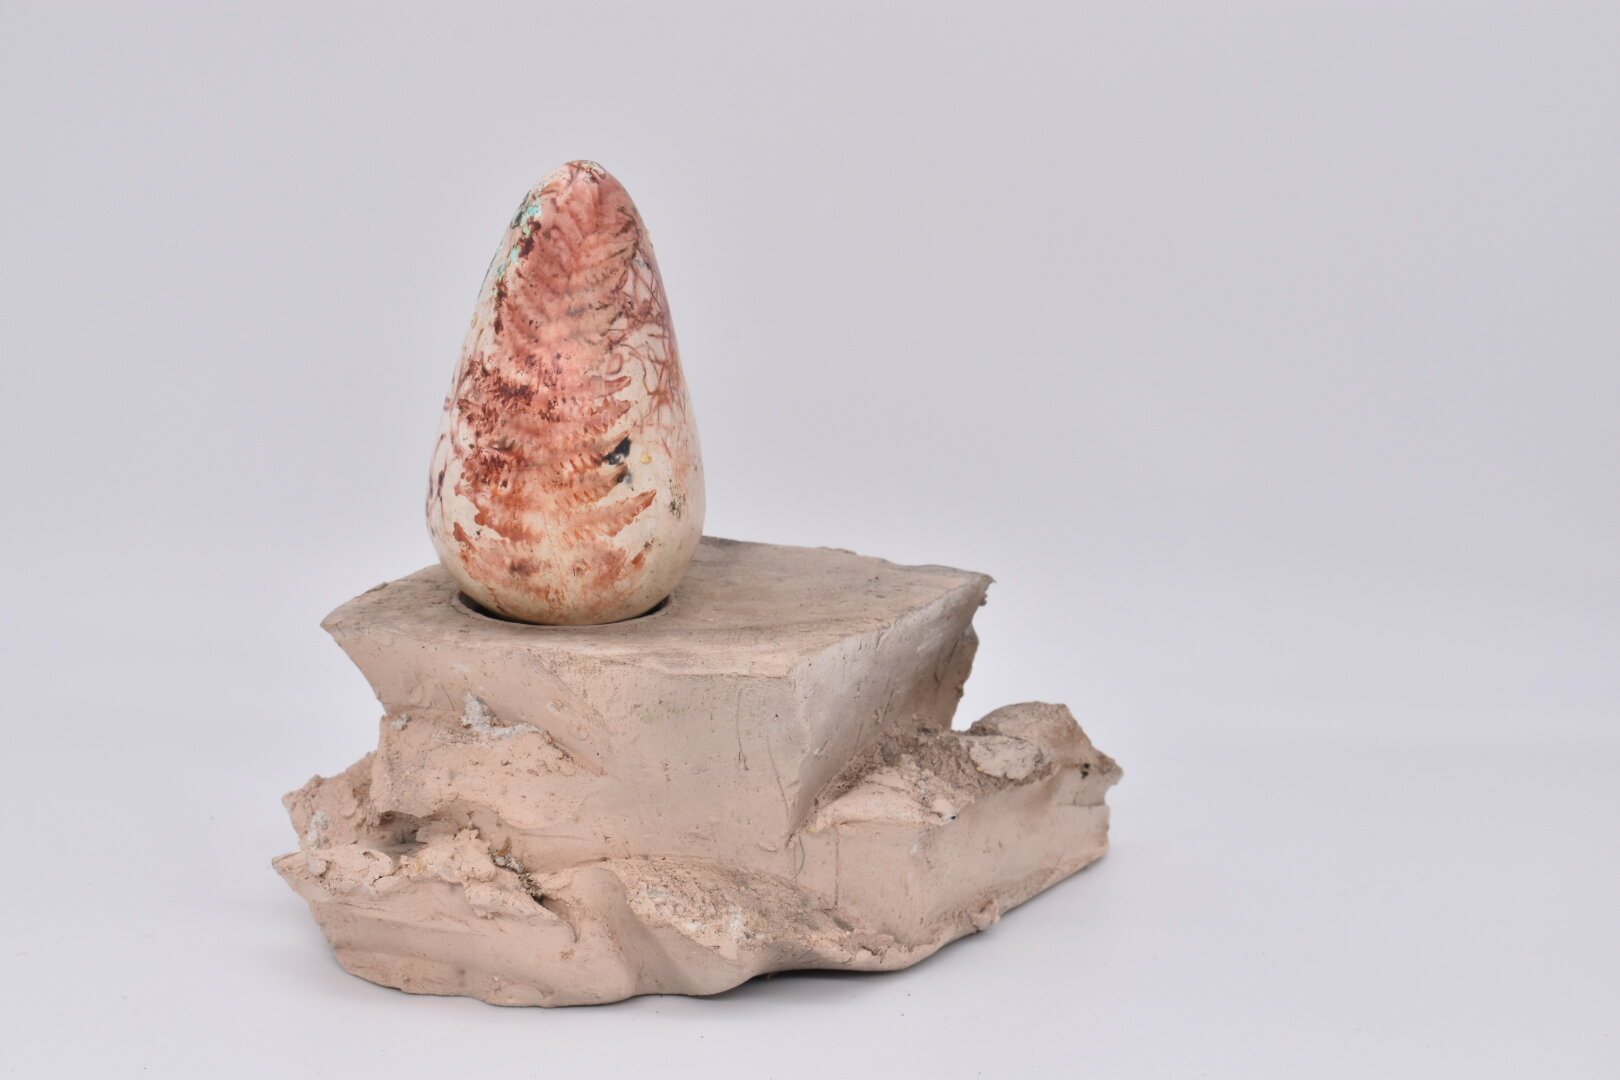

For the bases, or plinths, I decided to carve out a solid piece of clay using the Kurinuki technique. As I’ve progressed the plinths have become larger and more expressive. I smokefire these and they are starting to really resemble pieces of rock, which was always my intention.
Eggs are now available to purchase, see below. I can also create the eggs to commission - contact me for details.

Horsehair and Feather Fired Gullemot Egg
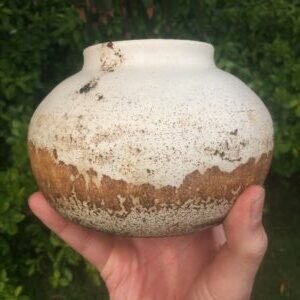
Pit Firing
Last week I did another pit firing – with some of my best results so far. I’ve learned a lot from other potters and from experimenting with my pit.
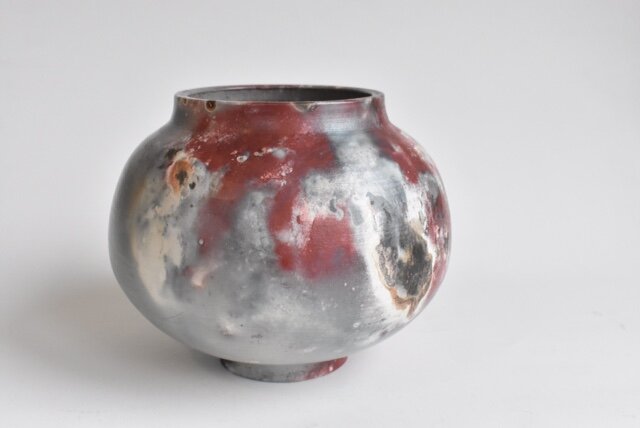

I’ve been really fortunate to work with Cambo Gardens in Fife who have given me a small space to experiment. The aim is eventually to offer others the opportunities to come and fire pots in this exciting and unpredictable way too. My pit is gradually getting bigger, the hotter it is the better the results have been.
I use a lot of organic materials in my firing – seaweed, banana skins, coffee, shells, plants/grasses, pine cones…plus driftwood which has lots of minerals in it as well as some oxides and salts..

I surround the pots with organic materials and wrap each one in newspaper. They are placed on a bed of straw and sawdust with some colourants sprinked about them. I put some wood on top to protect the pots before adding the driftwood.
Next up is a layer of driftwood, sawdust, colourants and newspaper. I try to have a touch paper ‘fuse’which burns down into the depths of the pit.

It’s great to see the pots emerge from the embers, not so great to hear a ping which might mean a crack…I’ve been pretty lucky so far.

I create a reduction atmosphere by covering the pit and sealing it as best I can. Then it gets left for at least 24 hours. When the pots are cool they get emptied of ash, washed, then polished up.


I’m gaining an understanding of where are the best spots in the pit and how to pack pots for better results. Lots of experimenting so far and more to come.
Scottish Potters Alternative Firing Workshop
Last weekend I attended a great weekend workshop on Alternative Firing Techniques organised by Scottish Potters at Springfield Arts in Arbroath.
The workshop was delivered by American potter Marcia Selsor. I thought I’d share some of my results from the techniques I tried. It was great to try so many different approaches. I thought I’d like Obvara most but actually preferred saggar firing. There are definitely techniques I want to try again and experiment with, just need to get a Raku kiln… Planning to bring some of these pieces to Potfest Scotland to make this a reality!

Obvara
I didn’t have a lot of success with this technique but I think more a textured surface would have improved my results.
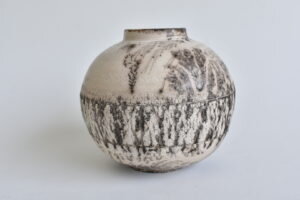
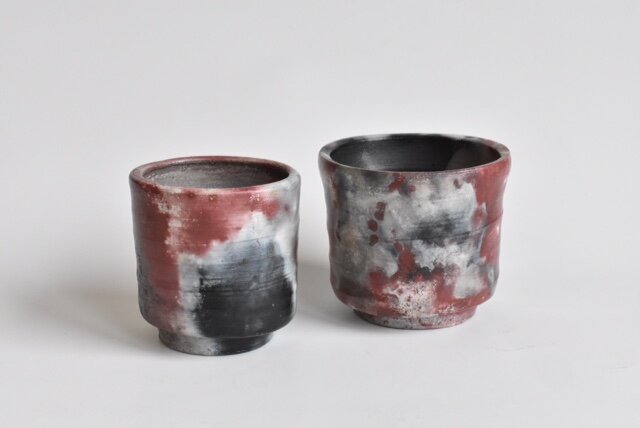
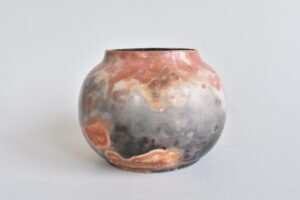
Saggar Firing
This was my favourite method. I love rhubarb and can’t believe it gave such a strong colour on the pot, close up it has an almost metallic sheen. The close fitting saggar gave the best results, I used two old bisque bowls which had a snug fit. The saggar I made, which was cylindrical didn’t do much, producing a very subtle ombré effect.
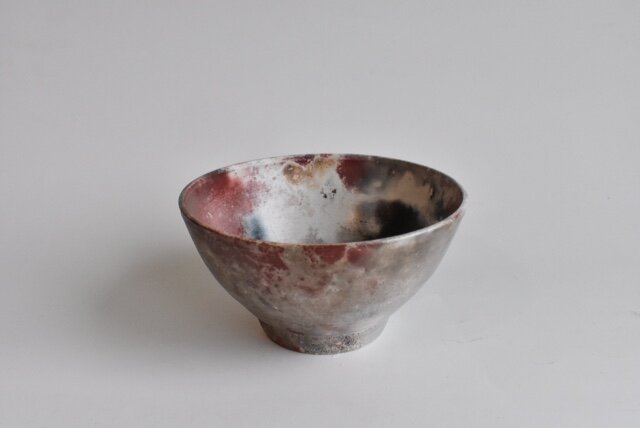
Foil Saggar
These pots also came out with very interesting surfaces. Stronger concentrations gave much better results. The good thing about all of these techniques is that you can easily refire and start with an (almost!) blank canvas.

This is something I want to explore a lot more. The seaweed I added gave a lovely soft gray colour. Very smooth burnished surfaces came out best here.
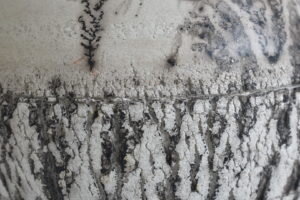
Horsehair and Feather
This was great fun and definitely a case of go minimal for best results, in my opinion. I couldn’t quite get the feathers to look as good as I wanted them to but the horsehair (from a Clydesdale) worked really well. Getting the pot to the right temperature was key for good results, too hot and the hair/feather sizzled uncontrollably. I’d like to work on this more and get more control of the results.